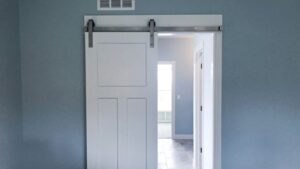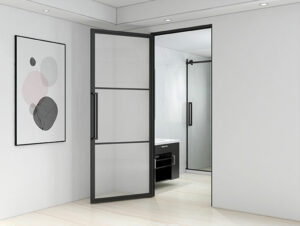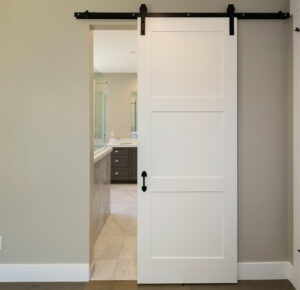

If you’re planning to install a sliding barn door, one of the first questions you’ll face is: what is the rough opening for a barn door?
The rough opening is the framed wall space where your barn door will be installed, measured before any trim, jamb, or hardware is added. Knowing the exact dimensions required is the foundation of a successful barn door installation — and it’s simpler than most people think once you understand the basic rules.
In this complete guide, you’ll learn how to measure your rough opening correctly, choose the right barn door and track size, prepare your wall for installation, and finish the job like a pro — whether you’re a seasoned DIYer or a first-time installer.
Compreender as aberturas brutas para portas de celeiro
Ao instalar uma porta de celeiro, a abertura bruta é uma medida crucial para garantir que a porta encaixa e funciona corretamente.
O que é a abertura bruta para uma porta de celeiro? (E porque é importante)
A barn door rough opening is the unfinished, framed wall space that your barn door is designed to cover. Unlike a traditional door that sits within the opening, a barn door slides in front of the wall on an exterior-mounted track. This means the door itself needs to be larger than the opening to provide adequate privacy, light blocking, and visual coverage.
Getting the rough opening measurement right matters for two key reasons:
- Too small a door: Light gaps and privacy issues will make the installation look and function poorly.
- Too large a door: The door becomes unnecessarily heavy and may overload the track hardware.
The rough opening measurement is always taken from the raw framing — the exposed wood studs — before any drywall, trim, or molding is applied. Width and height are your two primary dimensions.
The Basic Rough Opening Formula:
- Door Width = Rough Opening Width + 4 to 6 inches (2 to 3 inches of overlap per side)
- Door Height = Rough Opening Height + 1 inch (for hardware clearance and floor gap)
Como medir a abertura bruta para uma porta de celeiro
Accurate measurements are everything when it comes to barn door sizing. Follow these steps carefully before purchasing any hardware or a door slab.
Passo 1: Meça a largura
Using a tape measure, measure the horizontal width of your door opening at its widest point — typically at the center of the opening. Record this number. This is your base rough opening width.
To determine the correct barn door width, add 4 to 6 inches to the rough opening width (2 to 3 inches of overlap on each side). This overlap is critical for blocking light and ensuring privacy.
Example: If your rough opening is 36 inches wide, your barn door should be 40 to 42 inches wide.
Passo 2: Meça a altura
Measure from the finished floor up to the top of the door opening. This gives you your rough opening height. Add approximately 1 inch to this figure to account for hardware fittings and to ensure a proper gap above the floor.
Example: If your rough opening height is 80 inches, your barn door should be approximately 81 to 82 inches tall.
Passo 3: Verifique a folga em relação ao chão
The bottom of the barn door should sit approximately ½ inch above the finished floor. This gap prevents the door from dragging, scraping, or catching on floor irregularities — particularly important on uneven or textured flooring like tile or hardwood.
Tabela de dimensões das aberturas brutas para portas de celeiro
Use the chart below as a starting point for choosing a barn door size for your opening.
|
Rough Opening Width
|
Recommended Door Width
|
Rough Opening Height
|
Recommended Door Height
|
Min. Track Length
|
|---|---|---|---|---|
|
24 inches
|
28–30 inches
|
80 inches
|
81–82 inches
|
56–60 inches
|
|
30 inches
|
34–36 inches
|
80 inches
|
81–82 inches
|
68–72 inches
|
|
36 inches
|
40–42 inches
|
80 inches
|
81–82 inches
|
80–84 inches
|
|
42 inches
|
46–48 inches
|
84 inches
|
85–86 inches
|
92–96 inches
|
|
48 inches
|
52–54 inches
|
84 inches
|
85–86 inches
|
104–108 inches
|
|
60 inches
|
64–66 inches
|
96 inches
|
97–98 inches
|
128–132 inches
|
For help measuring your opening, trim, and available wall space, see our step-by-step barn door measuring guide.
Como escolher o tamanho e o sistema de trilho certos para uma porta de celeiro
Once you have your rough opening measurements in hand, the next step is selecting a barn door and track system that work together seamlessly.
Escolher o tamanho certo para a porta de celeiro
Your barn door must be large enough to fully cover the rough opening with overlap on all sides. Use the sizing chart above as your starting point, then cross-reference with the specific door you’re purchasing. Pay close attention to:
- Width Overlap: 2 to 3 inches beyond the opening on each side — non-negotiable for privacy and light blocking.
- Height Clearance: The door should sit ½ inch above the floor when hung, with 1 inch of added height above the rough opening factored into your door selection.
- Door Material & Weight: Solid wood barn doors are heavier and require higher-rated track hardware. Hollow-core or MDF doors are lighter and more forgiving on standard hardware kits.
Escolher o sistema de trilho certo
The track is what your barn door hangs and slides from, making it one of the most critical components of the entire system. Here’s what to know:
- Track Length: The track must be at least twice the width of your barn door to allow the door to slide completely clear of the opening. A 42-inch door requires a minimum 84-inch track.
- Weight Rating: Every track system has a maximum weight capacity. Always verify the track’s weight rating exceeds the actual weight of your door slab — ideally with a comfortable margin.
- Track Hardware Kits: Most reputable suppliers sell complete barn door hardware kits that include the track, rollers, spacers, mounting bolts, floor guide, and door stops. Buying a kit ensures all components are compatible.
- Roller Style: Flat-track rollers, v-groove rollers, and J-bar rollers each suit different door and wall configurations. Check your wall type and door edge profile before choosing.
Tip: If you’re installing near an outlet, light switch, or window, always map your track position first. A track that’s even slightly misaligned can cause long-term operational issues and hardware strain.
Preparar a instalação
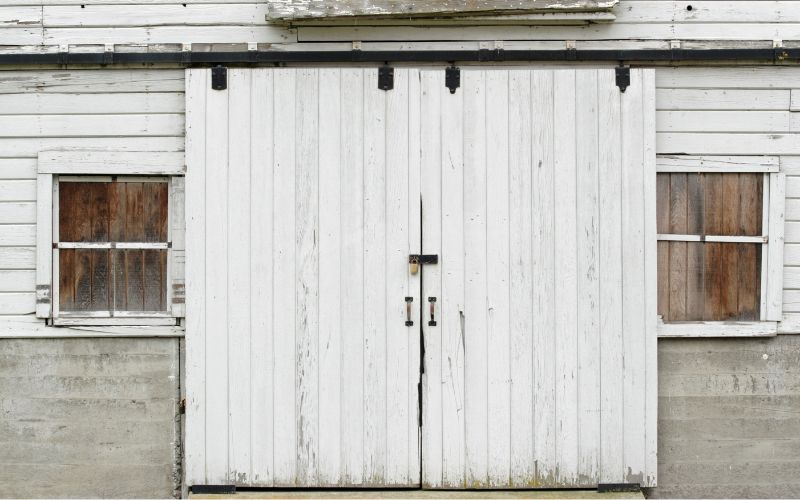
Uma preparação adequada antes de começar a montar as ferragens é o que distingue uma instalação com aspeto profissional de uma experiência frustrante. Reserve algum tempo para avaliar a parede e resolver quaisquer obstáculosantes de começar a furar.
Assessing Wall Space and Stud Locations
Os trilhos das portas de celeiro têm de ser fixados aosmontantes da parede para garantir a integridade estrutural e a segurança. Uma porta que não esteja devidamente fixada pode soltar-se da parede sob carga — sobretudo se for uma folha de madeira maciça mais pesada.
Espaço mínimo necessário na parede:
Espaço necessário na parede = largura da porta × 2
Assim, uma porta de celeiro de 42 polegadas requer pelo menos84 polegadas de espaço livre e desimpedido na parede ao longo do trilho.
Utilize as seguintes ferramentas para avaliar corretamente a parede:
- Stud Finder: Locate and mark all studs along your planned track line.
- Level: Ensure the track will be perfectly horizontal before drilling.
- Tape Measure: Confirm wall width, clearance from the ceiling, and any obstacle positions.
Também precisará de uma folga mínima de6 polegadas acima do aro da porta para acomodar o suporte de montagem do trilho e os roletes. Se o teto for mais baixo ou houver uma sanca a interferir, será necessário instalar uma tábua de suporte.
Dealing with Molding, Trim, and Obstacles
As guarnições da porta, as sancas, as tomadas elétricas, os interruptores e os aros de portas existentes podem interferir com a instalação do trilho. Veja como lidar com os obstáculos mais comuns:
- Door Trim & Molding: Measure the exact depth that the molding protrudes from the wall. Install a header board (typically 1×6 or 1×8 lumber) of matching or greater thickness to create a flush mounting surface for the track.
- Existing Door Jamb: Remove the door from its hinges and strip any existing hardware — hinges, strike plates, and handles — before beginning installation.
- Electrical Outlets or Switches: If an outlet or switch falls within the track path, consult a licensed electrician about relocating it before proceeding. Never mount track hardware over an active electrical box.
- No Studs Aligned with Track: Use heavy-duty wall anchors rated for the weight of your door when studs aren’t available at required mounting points. A header board spanning between two studs can also distribute the load effectively.
Montar o trilho e dar os últimos retoques
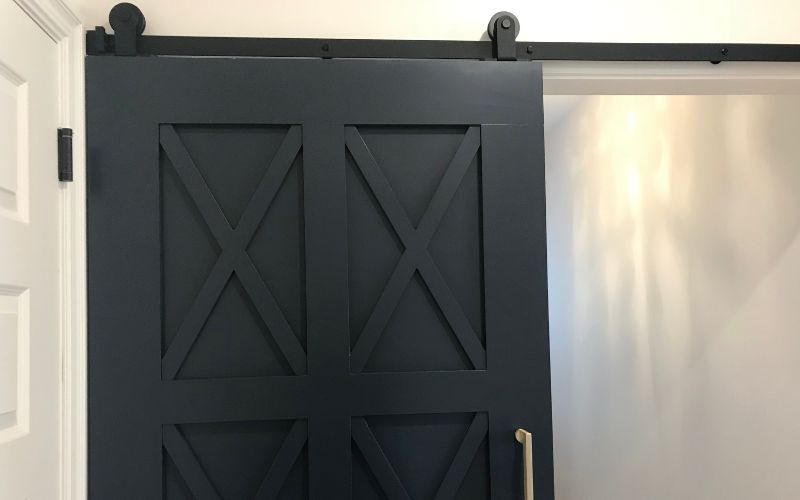
With your wall prepped and all measurements confirmed, you’re ready to install. Follow these steps in order for a smooth, professional result.
Passo a passo: instalar o trilho da porta de celeiro
- Mark your track position. Using a level, draw a horizontal guideline above the door opening where the track will be mounted. The bottom of the track should sit high enough for the door to clear the floor by ½ inch when hung.
- Locate and mark your drill points. Identify stud locations along the guideline and mark each mounting hole. Where no studs are present, mark anchor positions.
- Drill pilot holes. Use the appropriate drill bit for your wall material (wood stud, drywall anchor, or masonry) to pre-drill each marked position.
- Mount the track. Align the track with your pilot holes and fasten securely using the bolts and spacers included in your hardware kit. Use a level to confirm the track is perfectly horizontal before fully tightening.
- Hang the door. Attach the roller brackets to the top of the door slab, then lift the door and hook the rollers onto the track. Have an assistant help — barn doors are heavier than they appear.
- Install the floor guide. Attach a floor guide at the base of the door opening to keep the bottom of the door stable and prevent it from swinging away from the wall.
- Add door stops. Fix door stops at both ends of the track to prevent the door from sliding off the end or slamming into the wall.
- Attach the handle. Mount the door pull handle at a comfortable height, typically between 36 and 42 inches from the floor.
Ajustar e testar a porta
Once the door is hung, slide it back and forth several times to test operation. Check for the following:
- Floor gap: Confirm the ½-inch clearance between the door bottom and the floor along the full travel path.
- Wall clearance: Ensure the door glides parallel to the wall without scraping or tilting.
- Smooth rolling: All rollers should move freely along the track without catching or grinding. Apply a small amount of track lubricant if any resistance is felt.
- Stop positions: Verify the door stops prevent the door from traveling too far in either direction.
Common Mistakes to Avoid:
- Skipping the level check — even a 1-degree slope causes the door to drift open or closed on its own.
- Under-anchoring the track — always anchor into studs or use heavy-duty rated wall anchors.
- Ignoring molding depth — doors that catch on trim will damage both the trim and the door edge over time.
- Buying a track that’s too short — always verify the track is at least 2× the door width before purchasing.
Perguntas frequentes
What is the rough opening for a barn door?
A abertura bruta para uma porta de celeiro é o espaço da parede com estrutura que a porta irá cobrir. A porta de celeiro deve ser4 a 6 polegadas mais larga do que a abertura bruta (uma sobreposição de 2 a 3 polegadas de cada lado) e aproximadamente1 polegada mais alta do que a altura da abertura.
What size rough opening do I need for a 36×84 barn door?
Para umaporta de celeiro de 36 por 84 polegadas, a abertura bruta recomendada é de aproximadamente30 a 32 polegadas de largura e83 polegadas de altura. A largura extra da porta proporciona a sobreposição necessária de 2 a 3 polegadas de cada lado, e a altura adicional permite a folga de ½ polegada em relação ao chão e espaço para as ferragens.
How much gap should there be between a barn door and the floor?
Deve existir umafolga de ½ polegada entre a parte inferior da porta de celeiro e o chão acabado. Esta folga evita que a porta arraste, permite que deslize suavemente e acomoda pequenas irregularidades no pavimento.
How much overlap does a barn door need over the opening?
A porta de celeiro deve sobrepor-se à abertura da porta em2 a 3 polegadas de cada lado — ou seja, deve ser, no total, 4 a 6 polegadas mais larga do que a abertura. Também deve ser1 polegada mais alta do que a abertura, para garantir uma vedação adequada na parte superior.
How long should a barn door track be?
O trilho da porta de celeiro deve terpelo menos o dobro da largura da porta de celeiro. Assim, quando aberta, a porta pode deslizar completamente para fora da abertura. Para uma porta de 42 polegadas, utilize um trilho com pelo menos84 polegadas de comprimento.
Is there a standard rough opening size for barn doors?
Não existe uma norma universal, uma vez que as portas de celeiro existem numa grande variedade de dimensões. No entanto, a maioria dos fornecedores disponibiliza tabelas de dimensões com base nas medidas mais comuns das portas. A dimensão mais popular para portas de celeiro em habitações é36 polegadas de largura por 84 polegadas de altura, o que requer uma abertura bruta de aproximadamente30 a 33 polegadas de largura por 83 polegadas de altura.
Can I install a barn door on any wall type?
As portas de celeiro podem ser instaladas na maioria dos tipos de parede, incluindopladur, estuque, tijolo e betão. No entanto, o método de fixação varia. Nas paredes de pladur, é necessário fixar aos montantes ou utilizar buchas basculantes de alta resistência. As paredes de alvenaria requerem brocas para alvenaria e buchas adequadas. Verifique sempre se a capacidade de carga da parede é compatível com o peso da porta.